Reports
Customer Portal Users
- Data sources designed for global messaging
- Predefined, standard reports run and maintained by OpenMarket
- The ability to create custom reports with just the data you need
- The ability to visualize data on easy-to-read dashboards
To take full advantage of these new capabilities, we recommend you read these release notes and use these resources:
How to get started
To start using Reports, work with your OpenMarket account manager or with Support to do the following:
- Identify someone in your organization to serve as administrator. (There can be more than one.) We will set up the administrator account. Note that if your organization already has staff with Customer Portal accounts, these users will be able to access Reports once their existing accounts are provisioned for access.
- Create standard reports for your organization. Your account manager or Support will do this and will store the reports in the Shared folder. The administrator can access these reports and share them with other users.
- Assign data source permissions to all of your user accounts. Your administrator will do this.
- Share standard reports with your users. Your administrator will do this.
Once the access permissions are granted, you'll be able to log in to Customer Portal and click Reports. For now you'll be redirected to the legacy Customer Center, but we are currently working on migrating its entire content to Customer Portal.
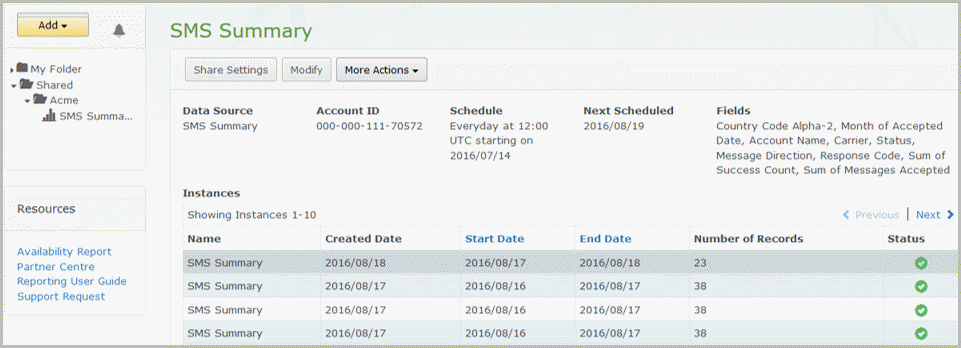
When you log in, you'll see a page similar to the one shown below. Your My Folder will be empty (because you haven't created anything yet), but Shared should have a folder named after your company that contains your standard reports. Your OpenMarket account manager may also have created a starter dashboard for you, in which case you'll see that as well.
For information about how the administrator assigns permissions to user accounts and shares standard reports, see Administrator Tasks in the documentation.
Legacy reports
The Deactivated Phone Numbers report is located within the Legacy folder. For more information about this report, see the Deactivated Phone Numbers Report.

Important: New users whose accounts were not provisioned to use legacy reports will not see the Legacy Reports folder in the navigation pane. To receive the Deactivated Phone Numbers report, use the Reporting API to retrieve them programmatically. For more information see the API Reference.
Differences in terminology and data fields
Data sources are optimized for global SMS messaging and use terms and values linked to our v4 Global SMS APIs. If you are currently using the Global SMS API, you will have already encountered these new terms. If you are still using the v3 API, here are the main terms to be aware of:
- Accepted date — The time and date (in UTC) when we accept a valid message request from your account or from a mobile operator.
- Delivery receipt code/description — The code we return informing you of the current or delivery state of a message.
- Mobile operator ID — The numeric ID associated with a mobile operator. Previously known as carrier ID.
- Message direction — Whether a message is an MT (outbound) or MO (inbound). Previously referred to as message type.
- Message originator — The numeric or alphanumeric string you use to send and receive messages, such as short code, text-enabled toll-free number, long code, etc.
- Content — The payload of a message. Previously referred to as text or data.
- Interaction — Whether the message is one-way or two-way.